How Minsah-ori is made
Minsah-ori is made through a process including preparatory steps like pattern design, dyeing, Kasuri binding, applying paste and stretching, and warp typing followed by putting threads through the heddles and weaving. Most of the finished textiles are sewn and processed into finished products.
Five-and-four square Kasuri patterns are typically made while taking into account contemporary sensibilities during pattern designing.
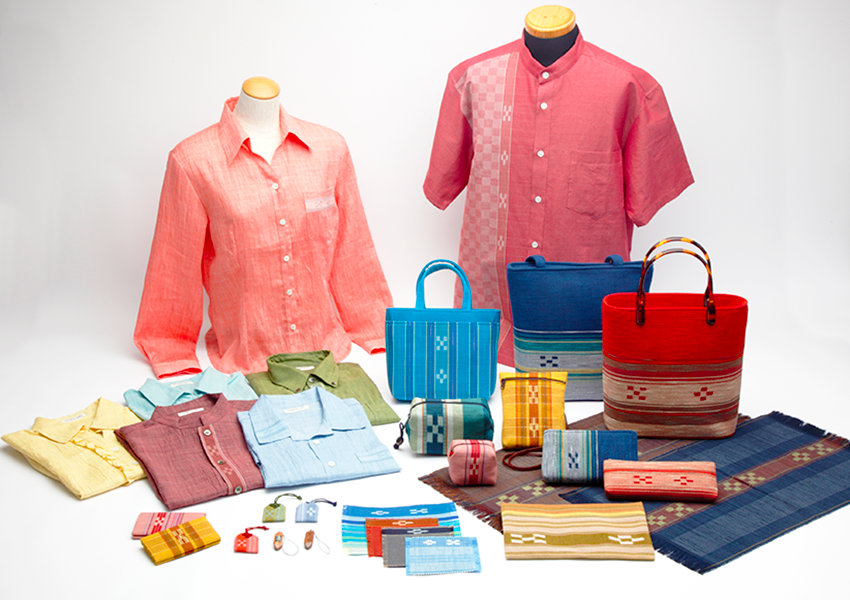
The company spares no effort to produce products that match the demands of the times, carrying on the founder, Kinue Ara’s (Director of the Minsah Crafts Museum) initial dream to make products with fine craftsmanship that can be used in daily life.
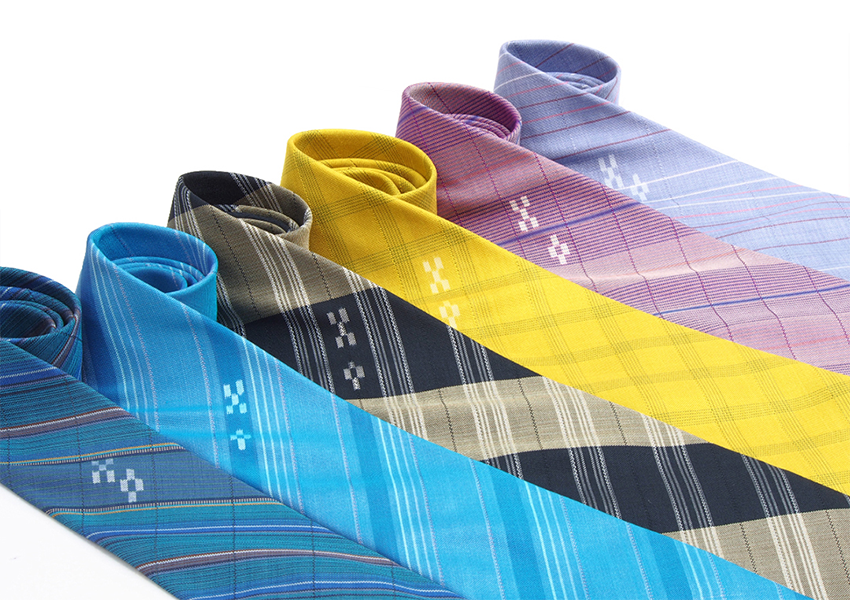
When dyeing, we use both local materials such as natural plant-dyes, and also use chemical dyeing techniques to create unique colors. Products made by Minsah-ori include a rustic texture and natural colors like the blue of Yaeyama’s beautiful sea and it’s colorful flowers.
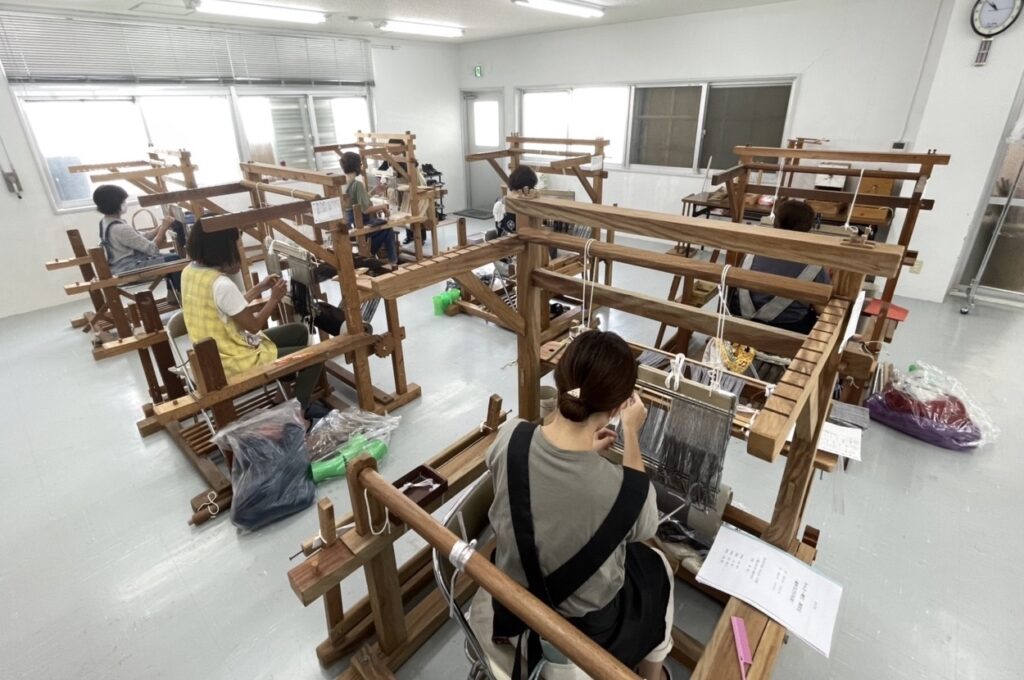
The majority of the weaving, the last step in the production of Minsah-ori, is carried out by a group of weavers (approximately 100 weavers), most of whom have received technical training and are specialized in weaving. Typically they start as a weaver after a three-month training course, but it’s only after a few more years of weaving that the weaver is considered a fully-fledged weaver. Every one of these weavers’ talents is a valuable treasure.
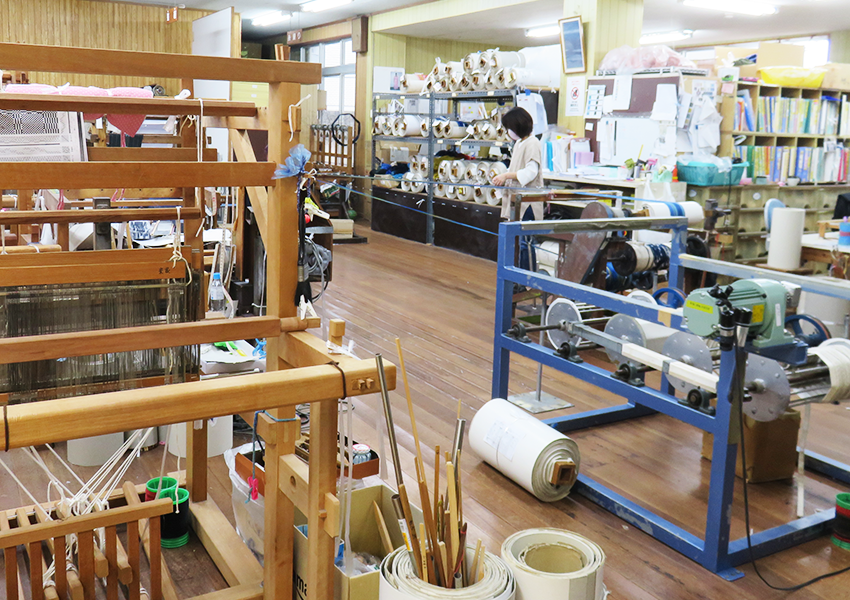
Weaver Workshop
Process and demonstration of Yaeyama Minsah-ori weaving
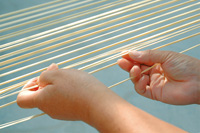
Process up until completed warp winding * Warp threads include kasuri threads in Minsah-ori weaving
| Process | Details |
| 1. Pattern Design | Create unique design using traditional five-and-four square kasuri patterns and other various kasuri patterns. |
| 2. Refining and bleaching |
The thread is washed and bleached using soap needles, azolin, and sodium carbonate to get rid of dirt and other impurities from it and to guarantee clean dyeing. |
| 3. Dyeing
|
Dye the thread according to the pattern design by dividing them into base, warp and weft threads.
|
| 4. Reeling
|
Reels (colored or white thread) are wound onto a bobbin or onto a paper tube. |
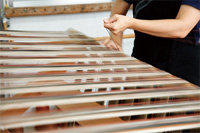
| 5. Warping
|
Prepare the required number and length of warp threads according to the design. |
| 6. Applying paste and stretching
|
To make well-formed kasuri designs and to make it easier to make kasuri patterns, paste is applied to the thread and stretched to balance out the tension. |
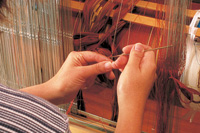
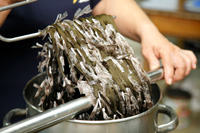
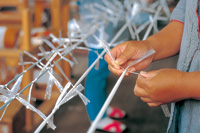
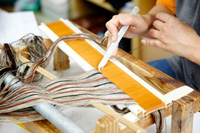
| 7. Kasuri binding
|
The stretched threads with paste applied are marked according to the design and hand-tied. |
| 8. Unbinding the Kasuri threads | Cut the ties and separate them from the Kasuri threads with thread scissors. |
| 9. Temporarily threading threads through the loom reed
|
Insert the warp threads into the ground threads according to the pattern. |
| 10. Winding
|
The warp thread is used as a winding stand to maintain constant tension of the warp thread, and is wound onto the tearing box while clipping the cardboard. |
Process to complete weaving
| Process | Details |
| 11. Threading the warp threads through the heddles
|
The warp threads are wound, placed on the machine, and threaded through the heddles in sequence. |
| 12. Sleying the reed | The warp threads are threaded through the loom reeds in the correct order. |
| 13. Reeling | Reels (colored and white threads) are wound onto bobbins. |
| 14. Tube winding | The weft thread is wound onto a small tube using a tube winder. |
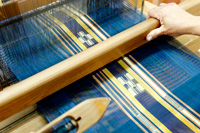
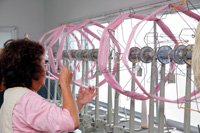
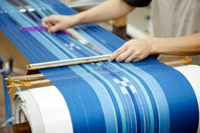
| 15. Weaving
|
Using a wooden loom, hand weave the fabric. |
| 16. Inspection | Products are inspected in accordance with the inspection regulations of the Okinawa Traditional Craft Industry Promotion Ordinance. |